Art Ed: Clay English Teacups part 1
March not only brings the hope of warmer weather but also the England country study in Kindergarten. The snow threw off my schedule and I had to switch up some my plans so that I wouldn't run out time. Here I am in July finally writing about this fantastic project! Tea is my drink of choice so I have a particular fondness for this project. I have one one-hour class to finish the greenware steps of this project with kinders.
My typical clay set-up: vinyl mats, box of tools, and a tub of slip.
Materials:
+ tea cup examples, real or photographs
+ pre-cut slab circles
+ pre-cut clay lumps
+ clay tools
+ slip
+ insulation foam
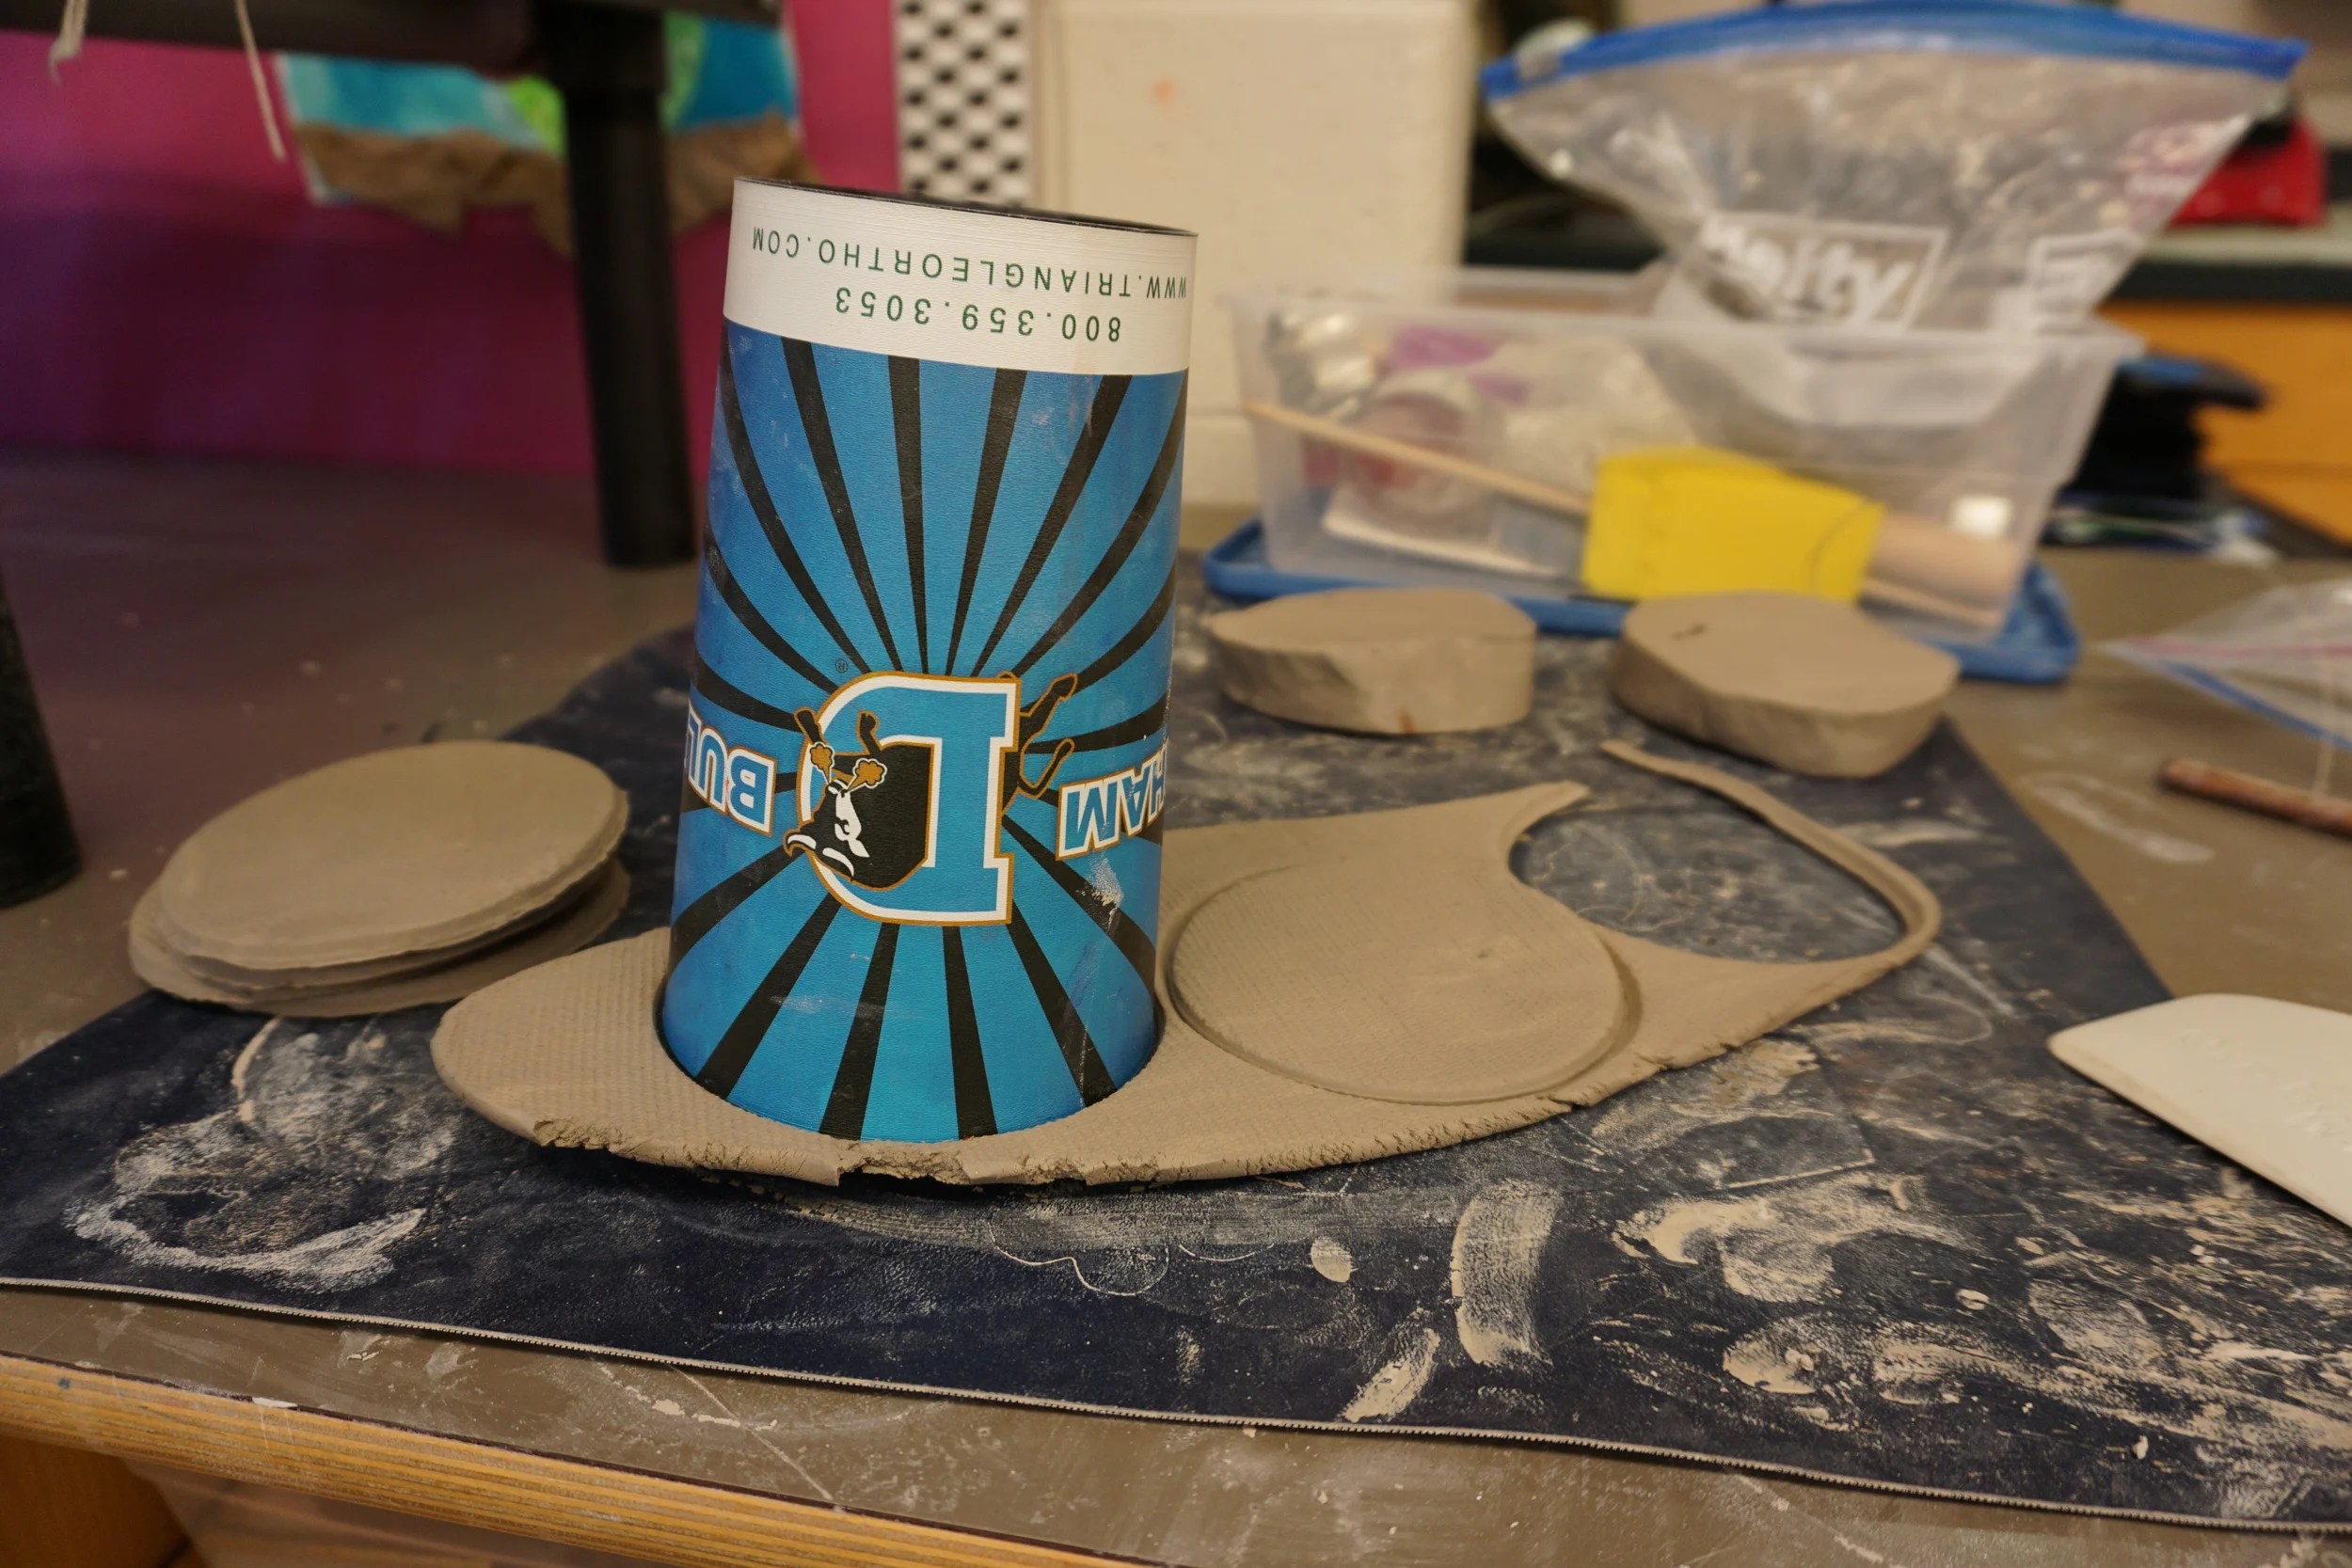
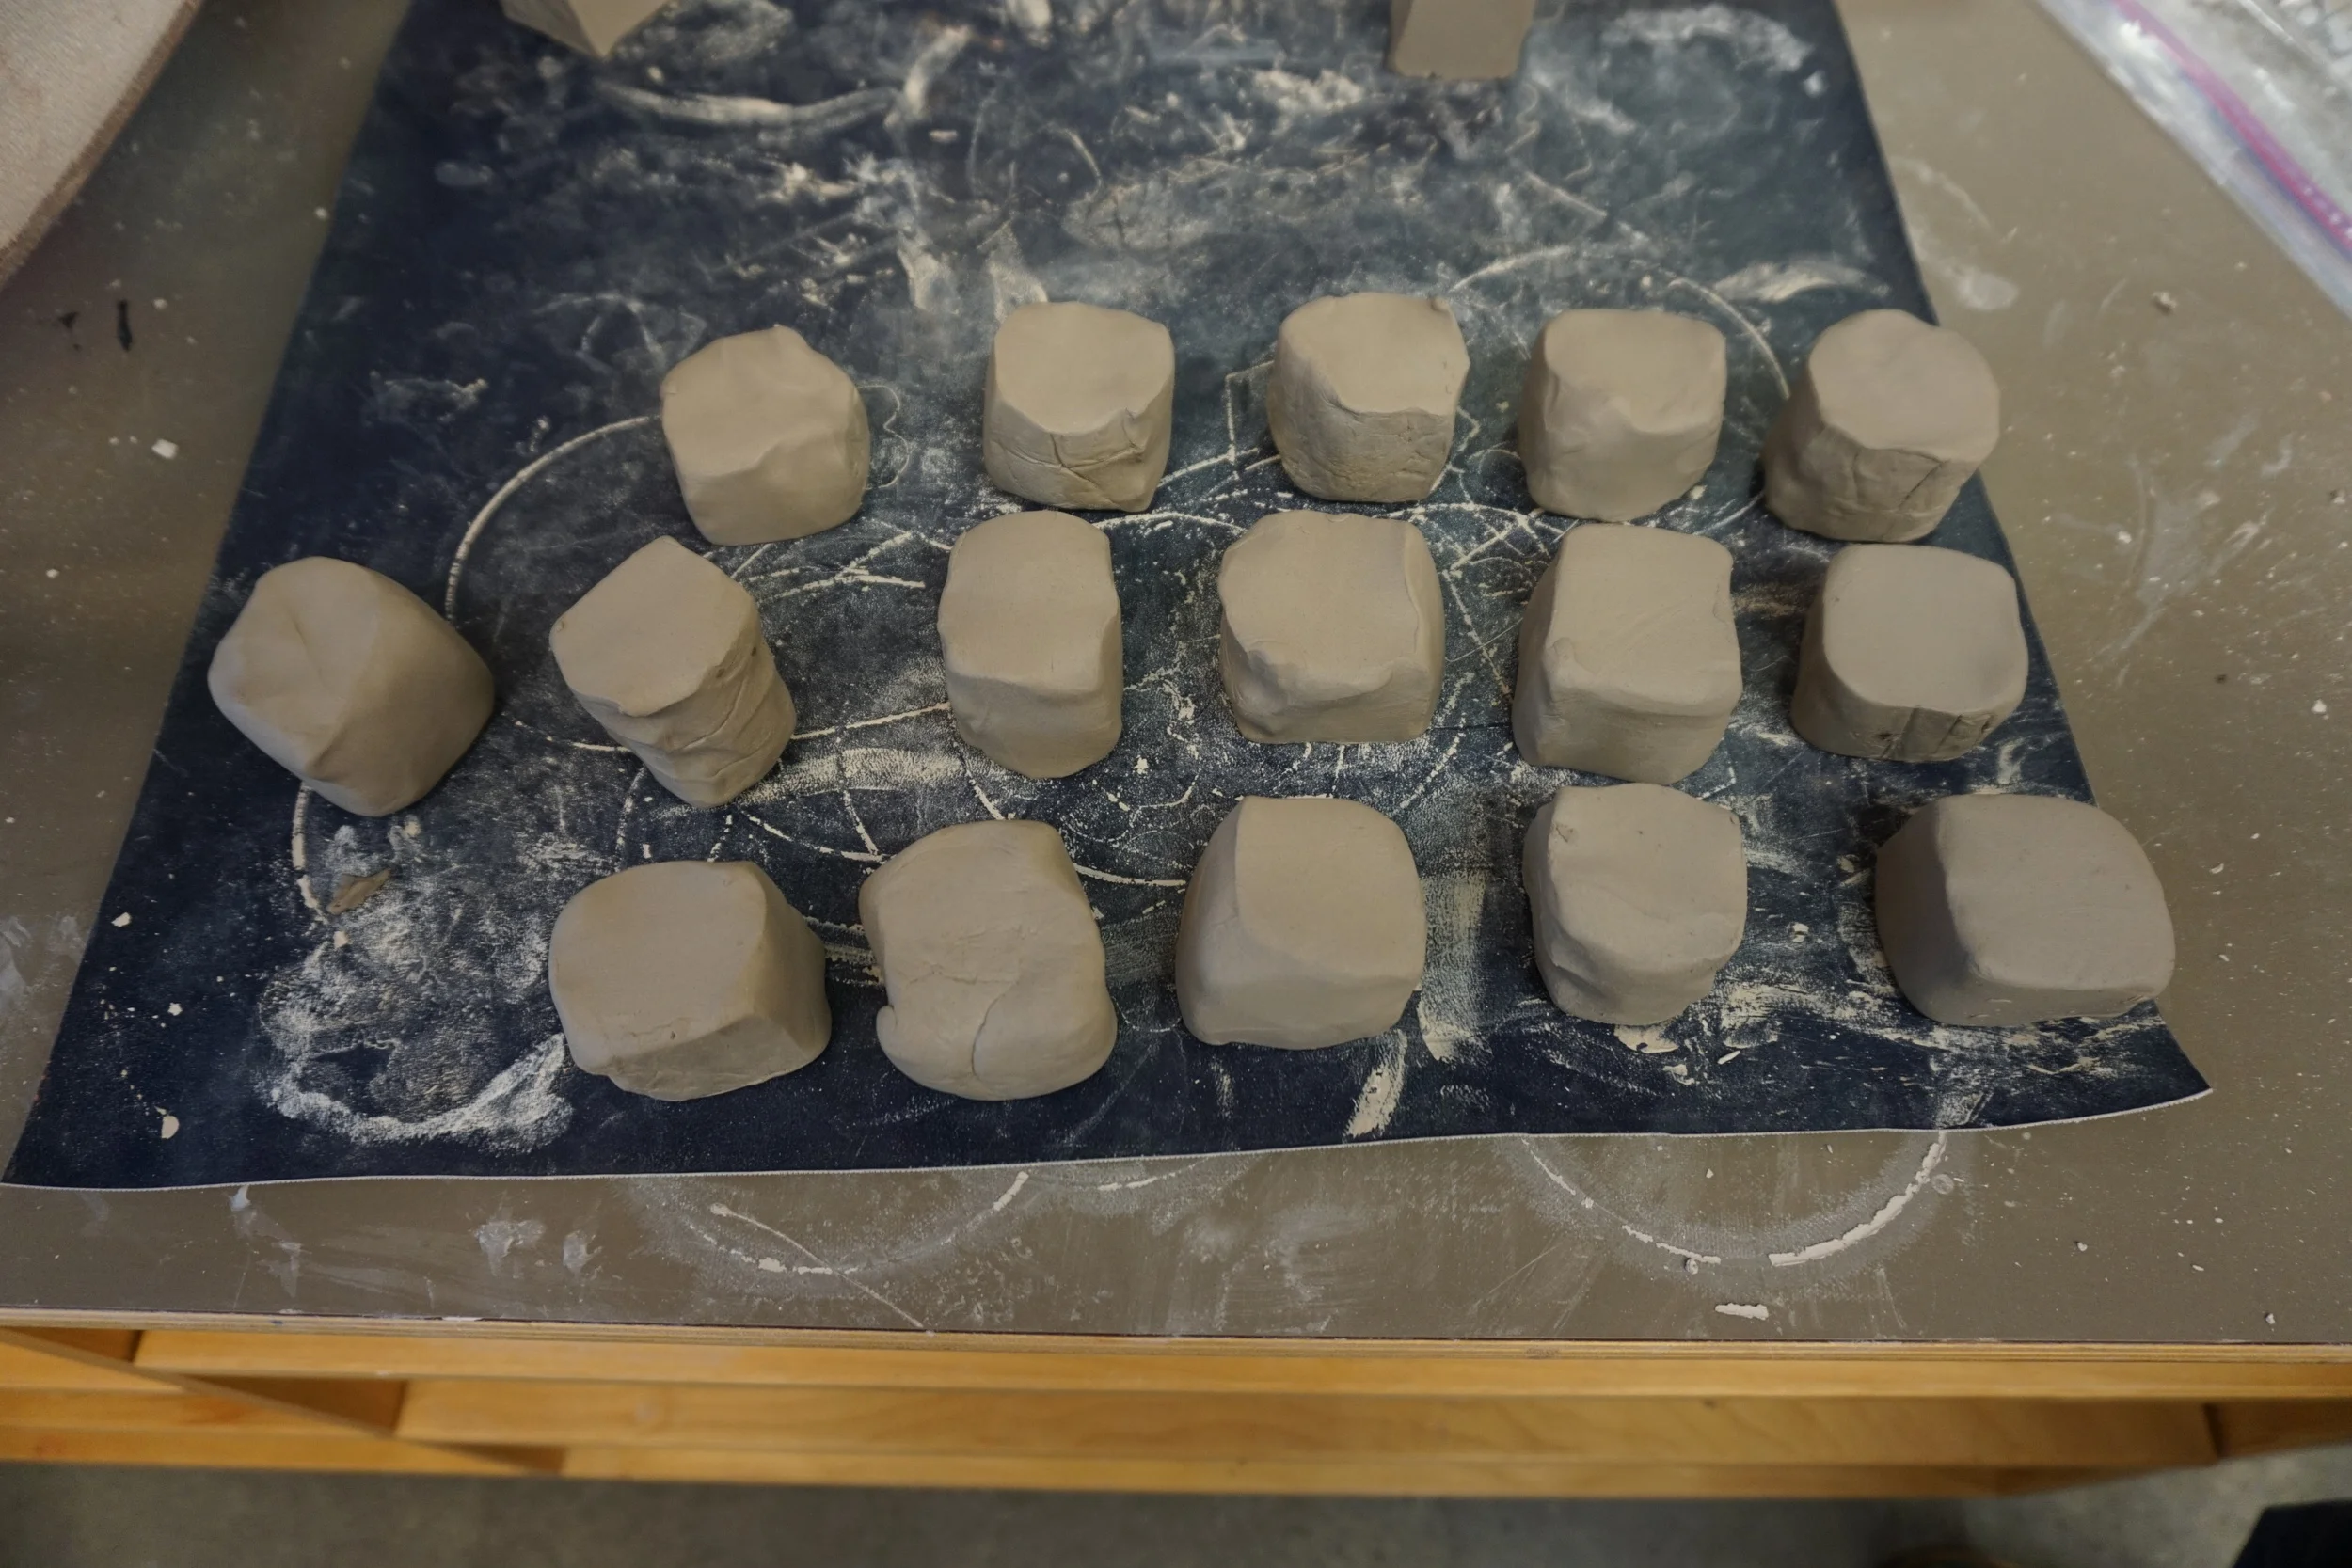
Before my class shows up I roll out slabs of Bella's Blend (Highwater Clay) and use a large cup to cut out the saucers. I stack them to the side and move on to the larger lumps of clay. I use a clay cutter to cube clay into a piece that's a little smaller than my palm. I press and mold the edges so it's rounded and therefore easier for the Kinders to work with.
I intro the lesson with the history of tea- where does it come from, why do the Brits drink so much of it, etc. We get to use information we learned during the China unit during this conversation. The kids really respond well to the connection of the two cultures during this intro. Next I pass around photographs. What is the plate called? Why is it useful? What are tea cups made from? These are some of the questions I ask to get students involved. Then we look at the designs and I ask them to tell me what they see: color, lines, shapes, patterns, etc. I point out that the cup and saucer are meant to go together as a set. There's always coordination in the pattern, color, and/or styling of the cup and saucer. Now it's time to get started!


I start with the saucers because they're easier and move quickly. Slab circles are already at their places. We smooth the tops with a flat clay tool or our fingers, making way for our own designs. On the back table I've emptied a basket of different stamps which students can use to create their own designs. They also have use of anything in the clay tool box to work with. They have lots of freedom to explore the tools and create any design they wish. While they are working I pass out the cubed clay with express instructions to not touch it.
As they finish I write their name, class, and date on the back before setting them on these foam insulation sheets to dry. Students stay at their seats and "chit chat" while we wait for everyone to finish this step. If you don't use this insulation in your art room, you should! It's extremely cheap, easy to cut down, and makes moving clay around super easy.
When everyone's saucer is on the back table then I demo how to make the cup as follows (sorry I don't have many pictures of this part)
- "Place your piece of clay in the palm of your hand."
- "Give me a thumbs up if you put it in the palm of your hand."
- "Now stick that thumb into the top of your clay. Press down hard but not all the way!"
- "Your thumbs up should now look like it has a hat on."
- "Take your thumb out, see the beginning of our cup?"
- "Put your clay down and show me your lobster claw (thumb and four fingers coming together) not your crab pinchers (thumb and pointer finger coming together). Great! Now put your thumb back in the hole and the other fingers wrap around the outside. Press your fingers together. Turn the clay and do it again. Keep going!" (I walk around to make sure everyone is getting this step.)
- "Now use both hands to make sure it looks like a bowl or cup and can stand on its own."
- "You can grab some stamps or tools and add pattern to your cup. Remember that it should coordinate with your saucer somehow. Is it going to be one part of the pattern or the whole pattern? Go to it!" (They work for ten minutes or so and I pass out handle clay.)
- I demo rolling my handle, scoring, slipping, and squishing it on to the cup.
- "You're turn to add the handle. Score, slip, and squish! If you don't score, slip, and squish your handle will fall off."


At this point the kids are finishing up and I'm writing names and classes on the bottom and setting them on the foam boards. If class time is up then I have them leave what they've got at their seat so I can pick it up when they leave. They wash their hands and read books (if there's time) before they line up to go.
It starts out nice and calm and always gets a little hairy toward the end. Always. The results however are fantastic. Out of four classes I have one or two that have giant gaps or serious structural issues. If you have 30 minute classes I suggest doing the tea cup without the saucer. Part 2: Glazing, coming soon... Good luck!